Sequin Clutch - DIY
- Oct 10, 2017
- 2 min read
This request came from my friend who wanted a custom clutch for a wedding she was going to. I was more than happy to test my skills and make something I haven't attempted to make before. I decided to model it after one of my favorite clutches from NY&Co. It is a fold-over style clutch with an asymmetrical detail.

The fabric from Joanne Fabrics she chose was really pretty, it was also a style of fabric I have never used before. There were sequins EVERYWHERE! I did not know cutting this fabric would result in a plethora of sequins all over my room! Nonetheless, she persisted. I basically just unfolded my clutch and used it as a guide to help me cut the fabric I was using. Because this fabric was thinner than what I was used to, I used two layers for the lining.

Next step was to get my zipper ready. The zipper I wanted to use was much, much longer than what I needed so I had to cut it and sew it. Everything I've learned is from Youtube so I went right online to find a video so I can do this part correctly. It turns out, all I needed to do was cut the zipper to my desired length and basically sew on the "stopper" at the end. as I call it.


Now that my zipper was ready to go, next step was to line everything up and get it pinned for sewing. The challenge here was the asymmetrical top, I wanted it to look intentional and not just crooked.


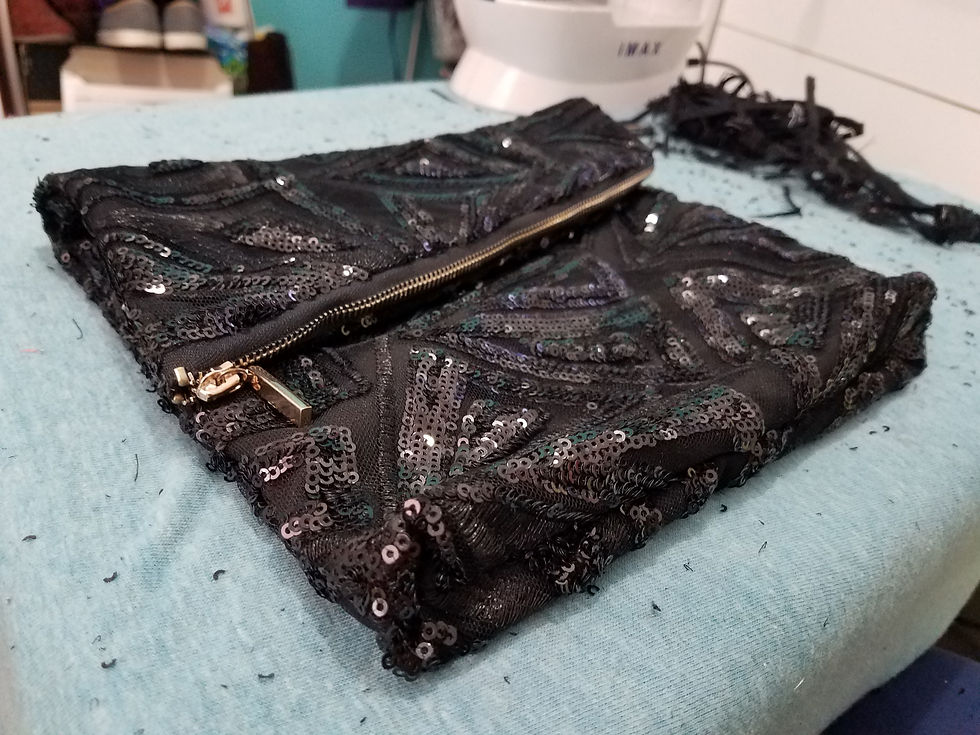
After the zipper was sewn in place, I had to sew all the edges. In order to do this, I needed to lay the bag flat, fold it so the lining faces out, and pin everything down.


Now that the sewing part of the bag was done, I had to trim all of my edges so that they were nice and clean. Before and after trimming:


The corners on my original bag are a little wider than the bags I usually make so I watched some more videos on how to achieve this look. This video helped me with this step. I was happy with my boxed corners.


Now for the final product! (Don't mind the sequin mess!)


I was so proud of myself for attempting to do something I thought I couldn't! This bag was so much fun to make and I hope I get to make more in the future!


Thanks for checking out this DIY! Also remember to check out my other bags at @ProjectZipperPouch!

Comments